Master Bathroom Refresh
When we remodeled our house the one thing we didn’t spend a lot of money on was our master bathroom. Unfortunately, the budget ran out and we got a new vanity and sink but the flooring and shower were out of the question in terms of budget. Well it has been driving me CRAZY so I tried to think of things I could do on a budget and got to work. It all started around the stencil I got from Royal Stencil called Funky Fiber, then add some art, a plant, a rug, a mirror and DIY your light fixture and we have a whole new vibe up in here. I will link all the sources below and walk you through what I did.
1.) First step Stenciling
I got my stencil from Royal Stencils. I used the Funky Fibers stencil and I also ordered their stencil paint in gold. It had wonderful reviews and didn’t bleed at all. I had tried wallpaper in this bathroom before but the textured walls and moisture from the bathroom caused it to peel back. This was a perfect solution and I LOVE how it turned out. The stencil kit also comes with a stencil brush that worked really well. A couple of tips are to dab it before applying and then apply it in a circular motion.

2.) Add Art , a plant hanger, and spray paint towel holder black
I wanted a black and gold look so I found art work and my favorite “Just Chill” sign that worked with the stencil. My towel holder was silver so I just used the same spray paint I used on my light fixture and sprayed it black to save money. Last, you know I love my plants so I got a macrame plant hanger and added a faux air plant for texture. Sources are linked below.

Just Chill Sign by Southernmesa Trading
Cactus Art by BD Design Co
Macrame Plant Hanger by Opal and Sage
3.) DIY Light Fixture
For my light fixture I did a simple fix, it was silver with mercury glass and I wanted a more modern industrial look. So I got to work, I removed the mercury glass first. Then, I spray painted the entire thing black. I wrapped copper foil tape around the part that was showing and got new round light bulbs, I added these later so they aren’t pictured but they made such a difference! The lights I got were from Hope Depot.
![IMG_0811[1].JPG](https://images.squarespace-cdn.com/content/v1/5c5b9e74797f744d2ccbfe38/1566266010407-L14BZ64CY3BC5MAF5NT4/IMG_0811%5B1%5D.JPG)
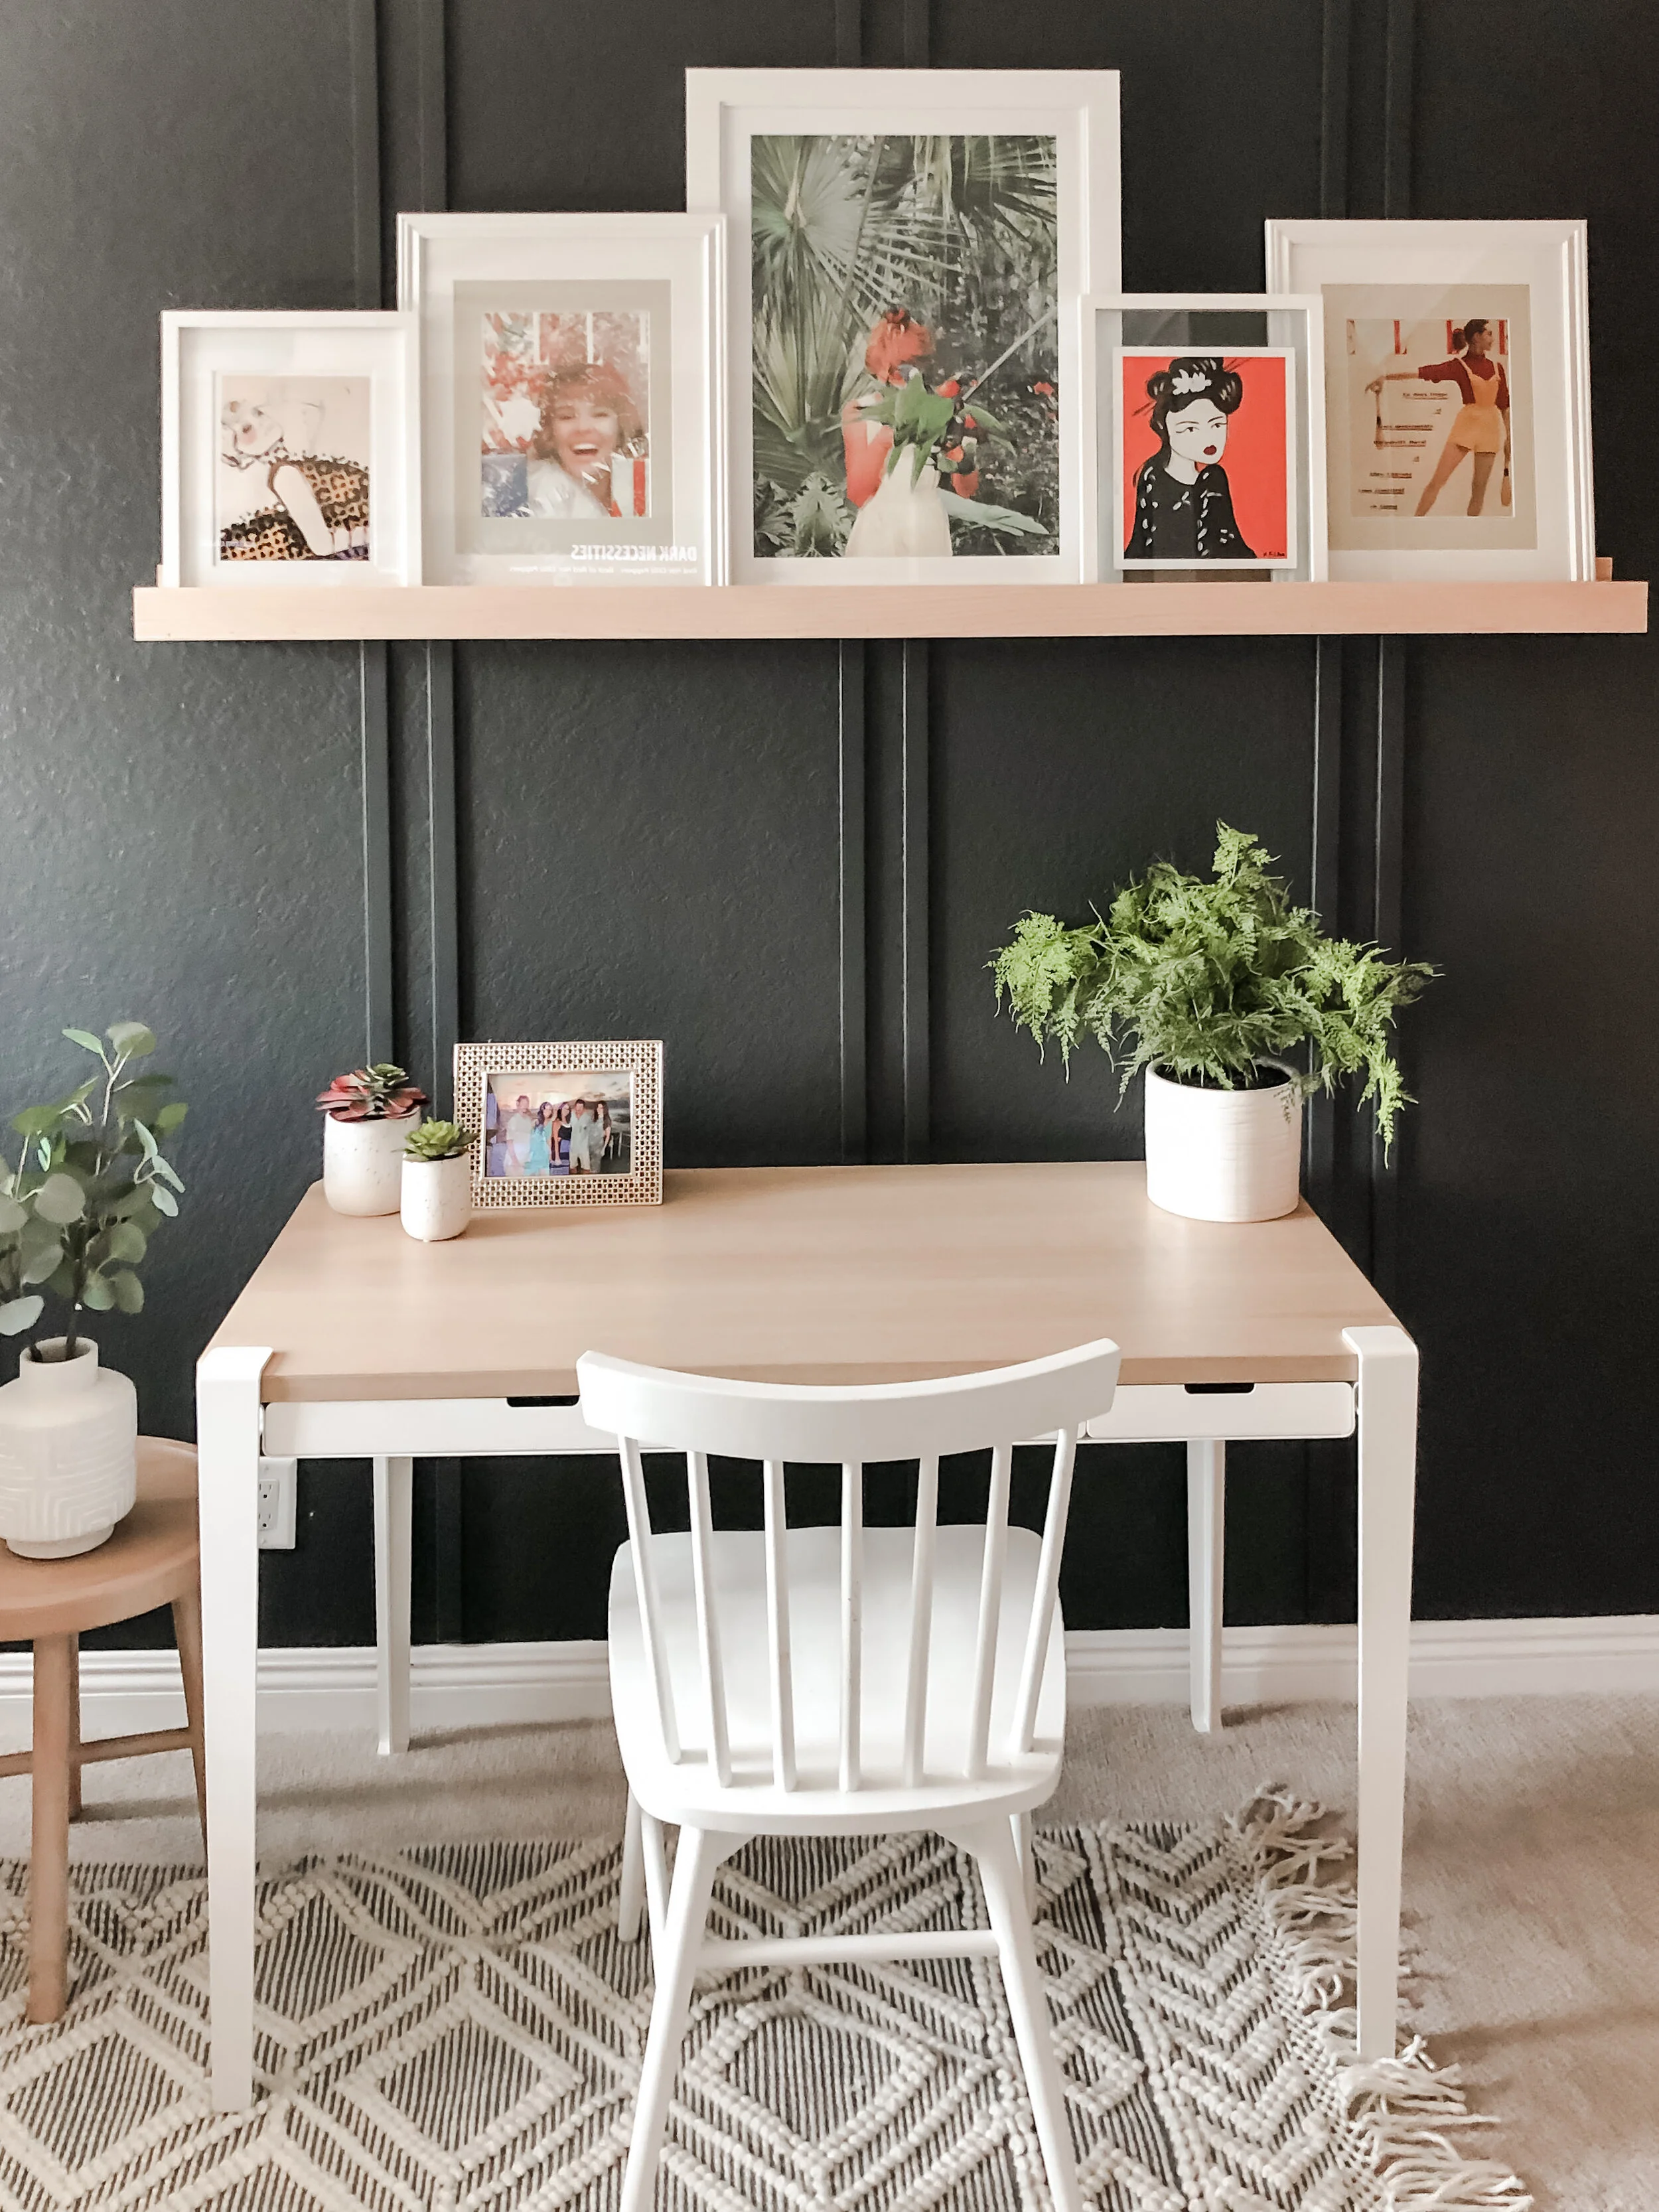
4.) Finishing Touches
Last, I added a new mirror for a more modern look and a new rug to cover my flooring. I want to eventually re-tile my floors but like I said, that darn budget. The next best way to cover them is to find a rug that is durable and works well with the bathroom. Ruggable rugs are machine washable woo hoo! The mirror I had before was too large for this space so by adding a smaller mirror with rounded edges it opens up the space and gives it a softer look.
![ACS_0460[1].JPG](https://images.squarespace-cdn.com/content/v1/5c5b9e74797f744d2ccbfe38/1566265774410-2KMCK4FT6QJ8TS1CT58R/ACS_0460%5B1%5D.JPG)
That is about it, I will eventually get new blinds too :) What is your favorite DIY project? I hope you have a wonderful week.
Cheers!
Janelle