Valentine's Day Tablescape- How to Create a Floral Arrangement Like a Pro
I wanted to create a beautiful tablescape for Valentine’s Day, and what better way to do that, than with flowers? Flowers are a beautiful way to add natural beauty and bring life into any interior space. I knew I wanted a variety of rich, pink palettes and rustic elements, to create a calming atmosphere that also was romantic. Here are the three elements I wanted to keep in mind while creating the tablescape arrangements:
1.) Layering of different varieties and textures to create a unique dimension.
2.) I wanted to create a sense of movement or motion that connects the floral design from one point to another.
3.) I wanted blush tones, mixed in with whites and neutrals to create a calm and romantic atmosphere.

Once I knew what I wanted, I started the process of choosing the floral arrangement. Here are the easy steps I took to create my final Valentine’s Day Floral Arrangement Tablescape.
Choosing your Flowers
So, I started doing some research on the best combinations and found everything I needed at You Floral. They have both a USA and Canada based store, and they have everything you need to make your vision come to life. They can help you put together a combination to create your own masterpiece, or they can create it for you. I can’t say enough good things about how easy it was to work with Sarah, the owner. I sent her a picture of the look I was going for, and she nailed it with her selection of flowers! I wanted to have a few colors that blended nicely, sticking with mostly dusty tones. I wanted a variety of size, shape and texture. I also knew I wanted greenery to use as accents to drape over the edge of the vase, as well as go down the table. Keeping all that in mind, here are the flowers Sarah picked out and I decided on:
-Preserved Bunny Tail Brown Bunch - Bunny Tails - Natural - Flower Delivery - You Floral (youfloralusa.com)
-Preserved Palm Fan White Bunch - White Palm Suns - Flower Delivery - You Floral (youfloralusa.com)
-Ruscus Israeli Green Bunch - Ruscus - Israeli - Flower Delivery - You Floral (youfloralusa.com)
-Carnation Lege Marrone Beige Fancy Stem - Terracotta Carnation Standard - Flower Delivery - You Floral (youfloralusa.com)
-Spray Rose Chablis Light Peach Stem - Soft Pink Roses (Jana) – Spray - Flower Delivery - You Floral (youfloralusa.com)
-Limonium Misty White White Bunch - Limonium - Flower Delivery - You Floral (youfloralusa.com)
-Pompon Button White Bunch - White Doria Mums – Pom Pom - Flower Delivery - You Floral (youfloralusa.com)
-Eucalyptus Silver Dollar Green - Eucalyptus - Silver Dollar - Flower Delivery - You Floral (youfloralusa.com)

Once the florals were decided on, they came right to my door in perfect condition, the delivery process from You Floral is so quick! The next step is to start creating, and allowing your vision to come to life (the best part). When creating a floral arrangement here are the steps I take.
Prepping the Flowers:
Clean off any damaged petals and leaves.
Trim away leaves and thorns that will be below the water line. If your bouquet will be dense (as mine was in this case), you may want to remove all of the leaves.
Cut the stems at a diagonal to expose them to as much water as possible.
Make sure your stems are not too long, in this case I did varying heights to create a sense of movement and dimension.
In order to keep the blooms lasting longer, I added ice to my vase. However, if you want them to open quickly, use warm water.
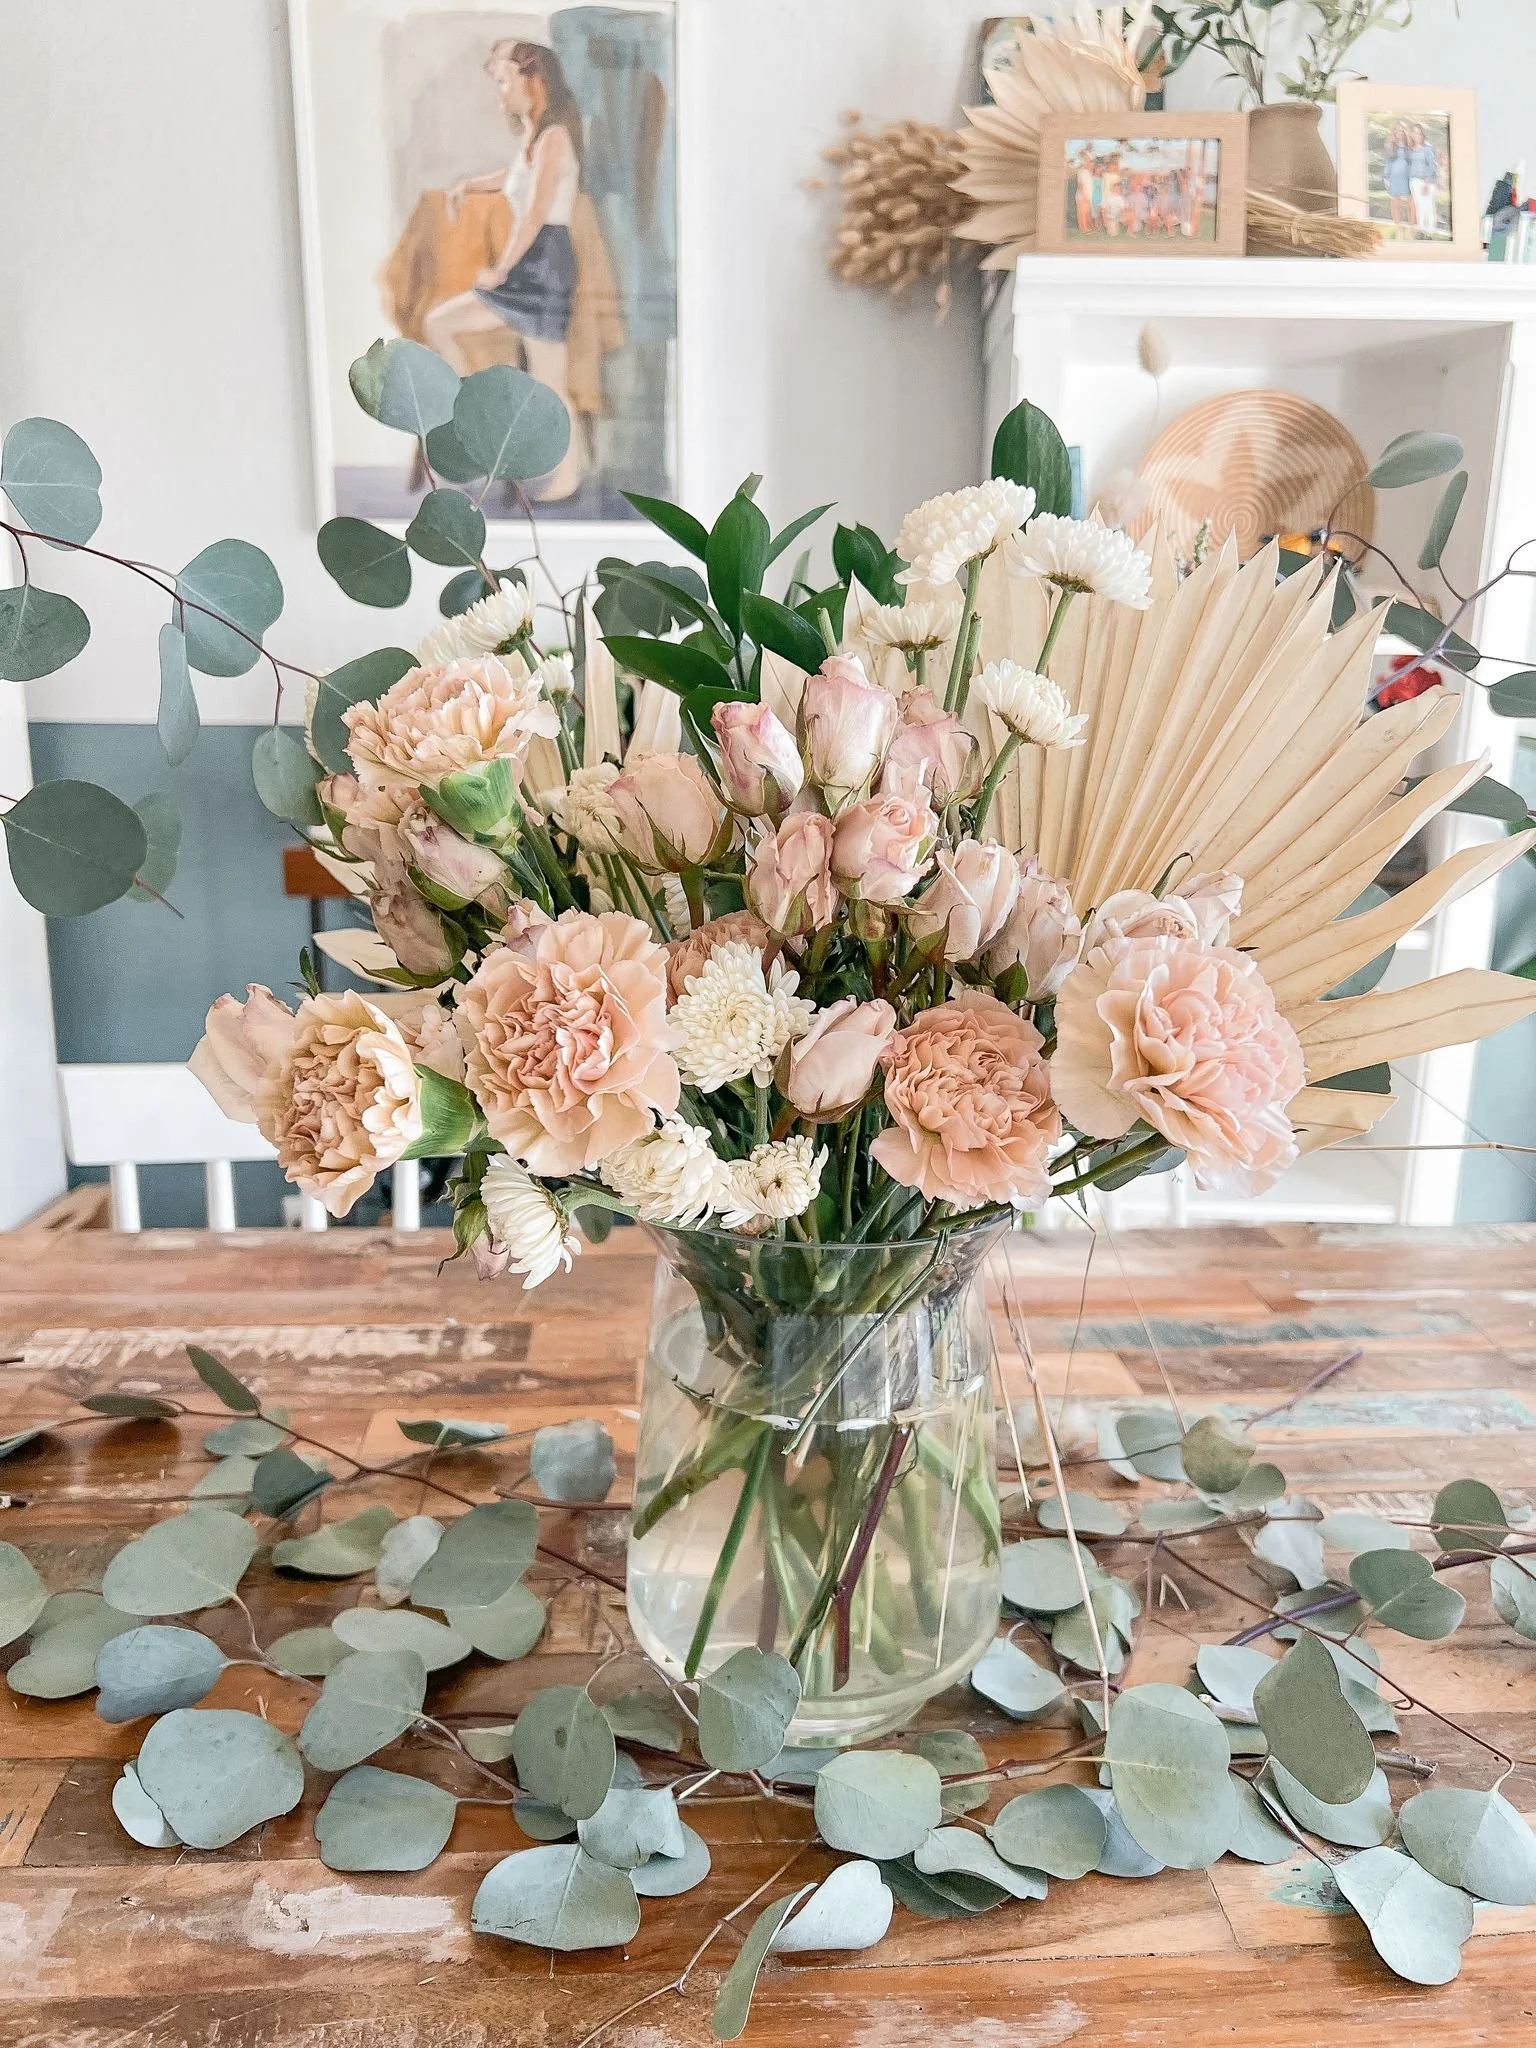
Arranging the Flowers:


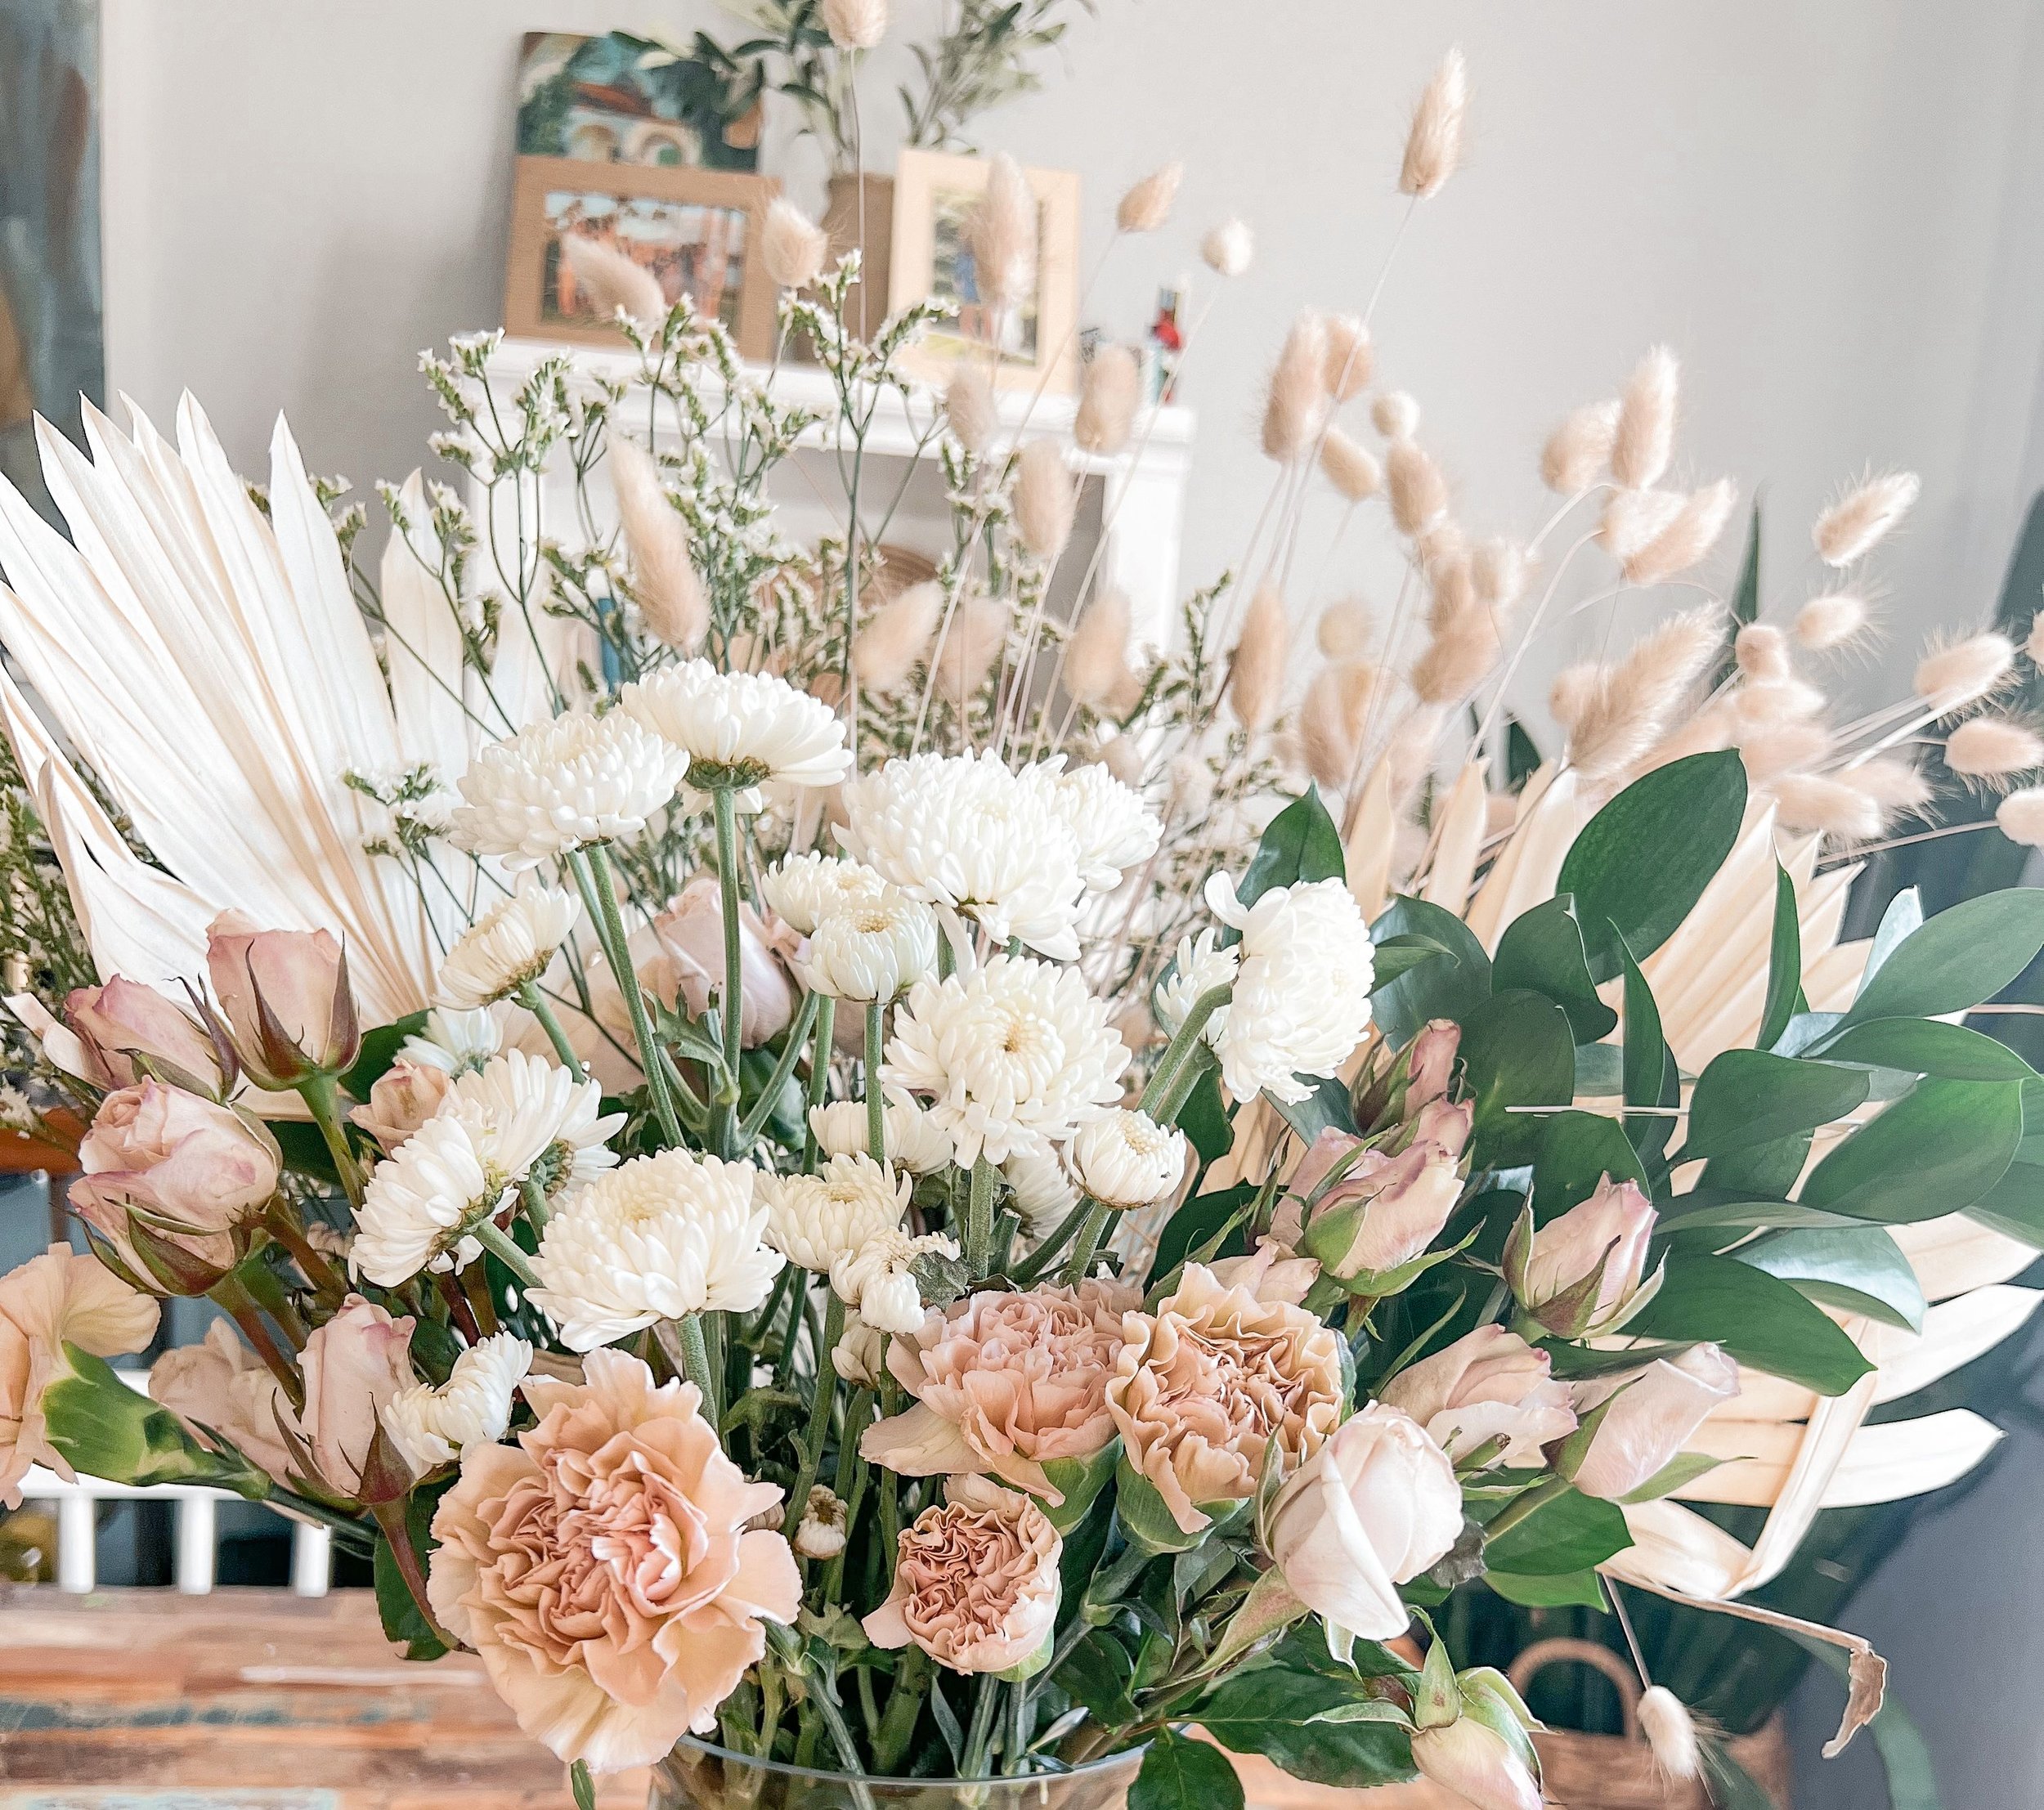
Start by adding the most dominant flower first. For me, this was the largest flower in the arrangement which was the Terracotta Carnation Standard - Flower Delivery - You Floral (youfloralusa.com)
Next, I added in the secondary flowers to fill in the empty spaces. Some I added in clusters, and others I added on their own.
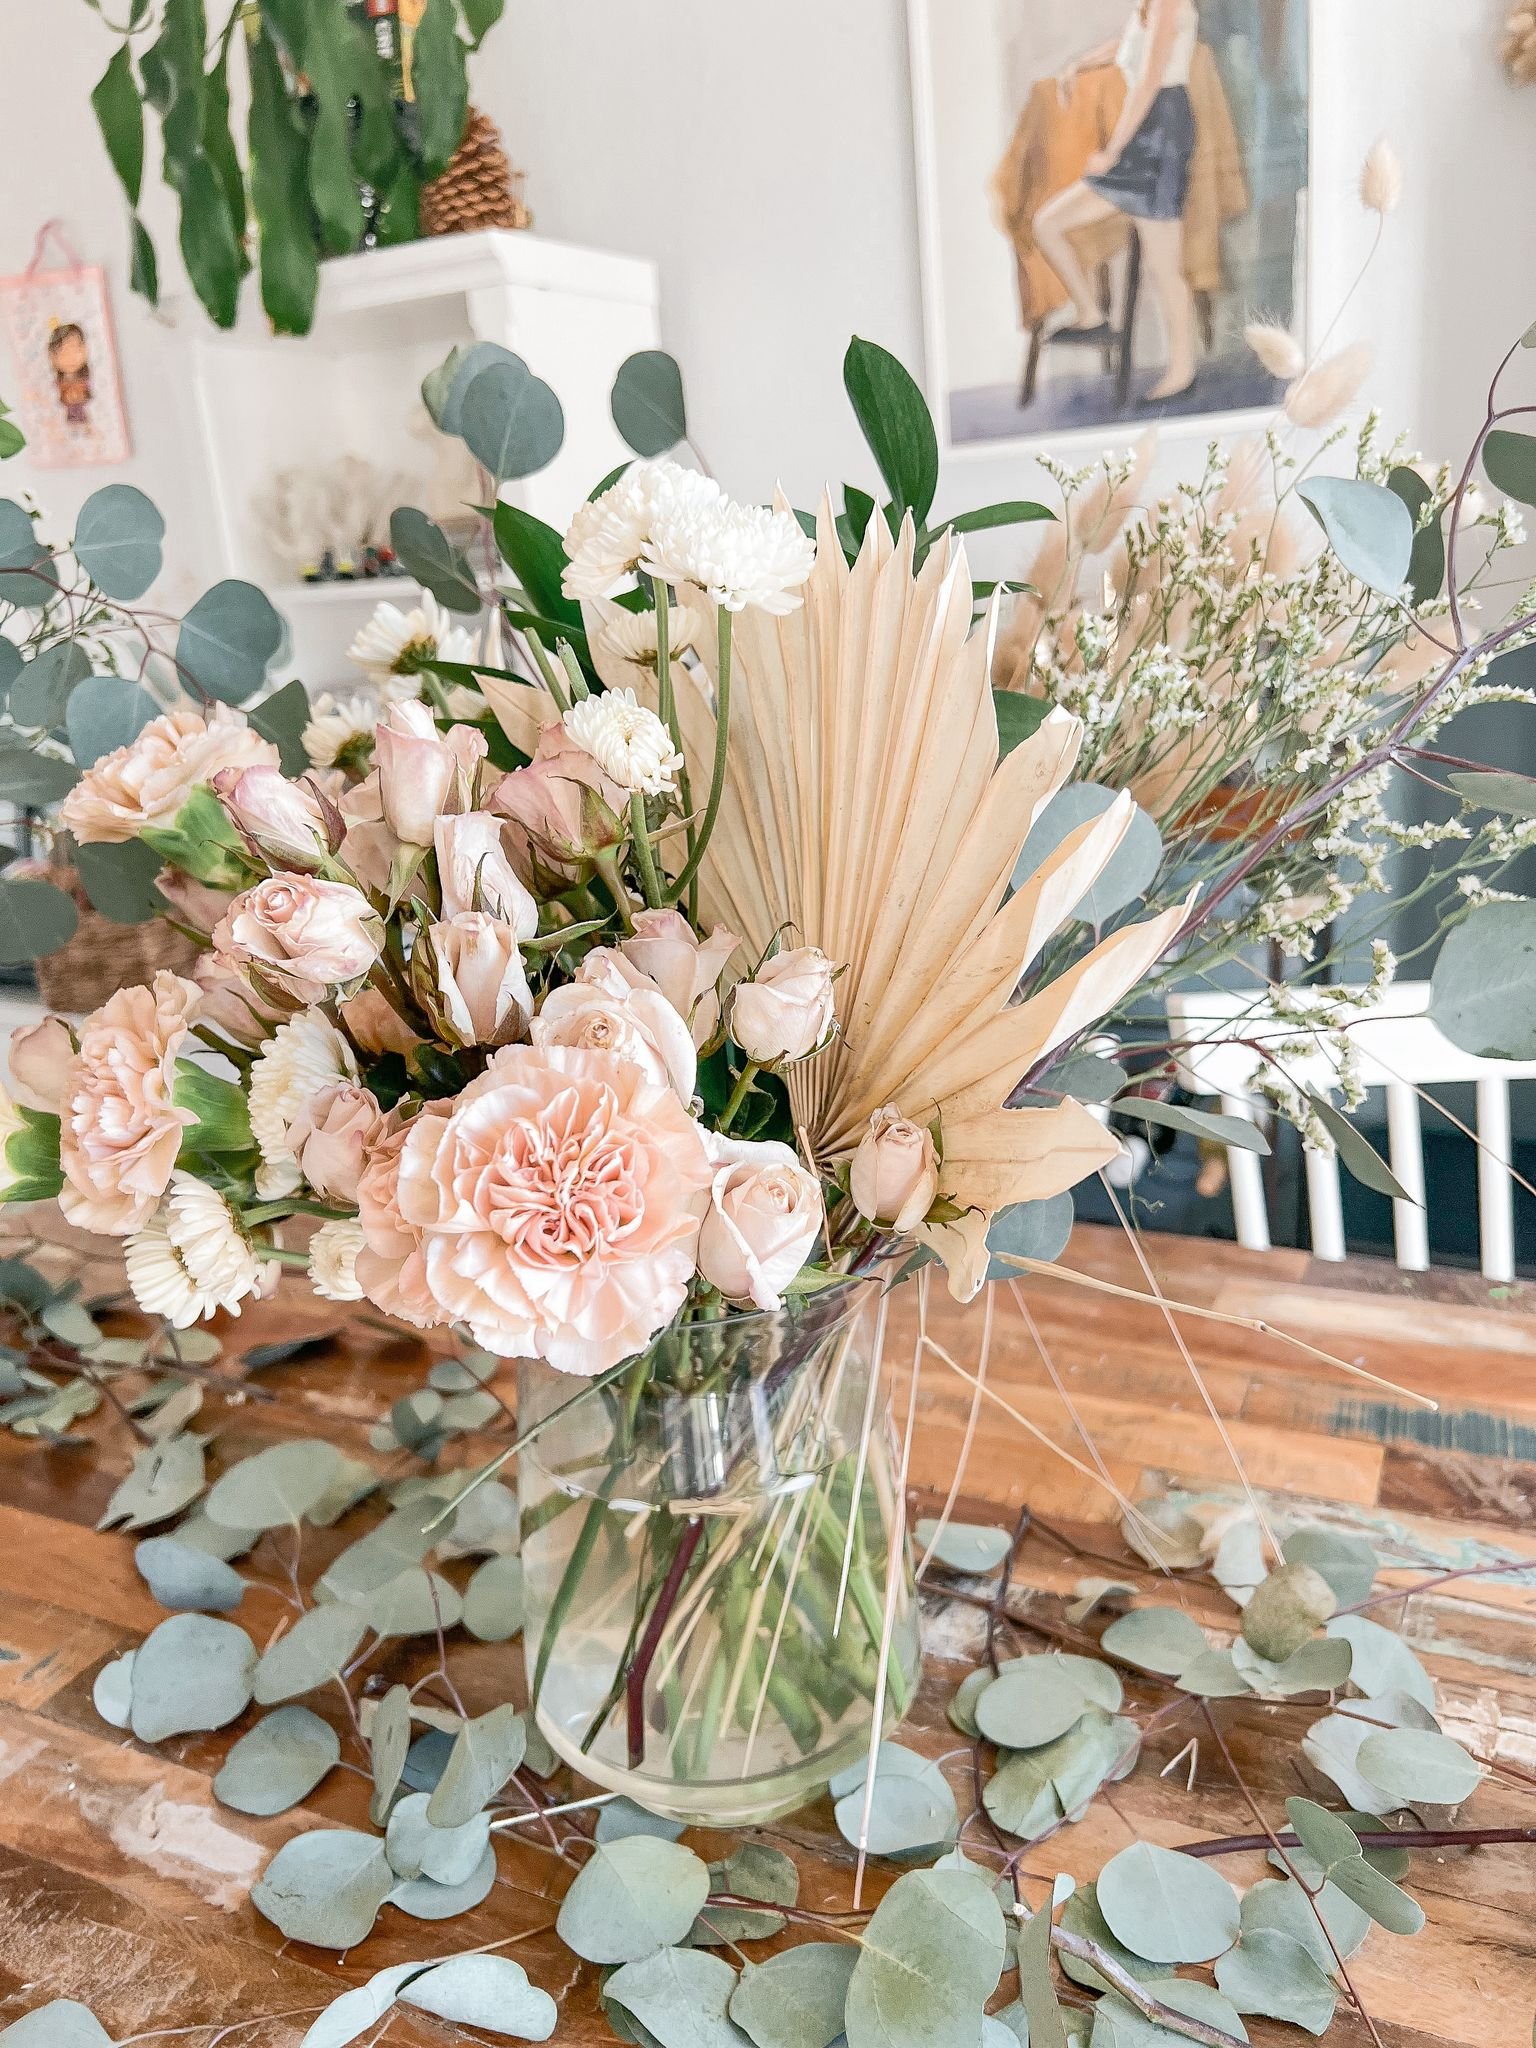
Then I added in greenery to soften the look and create that romantic look I was going for for Valentine’s Day.
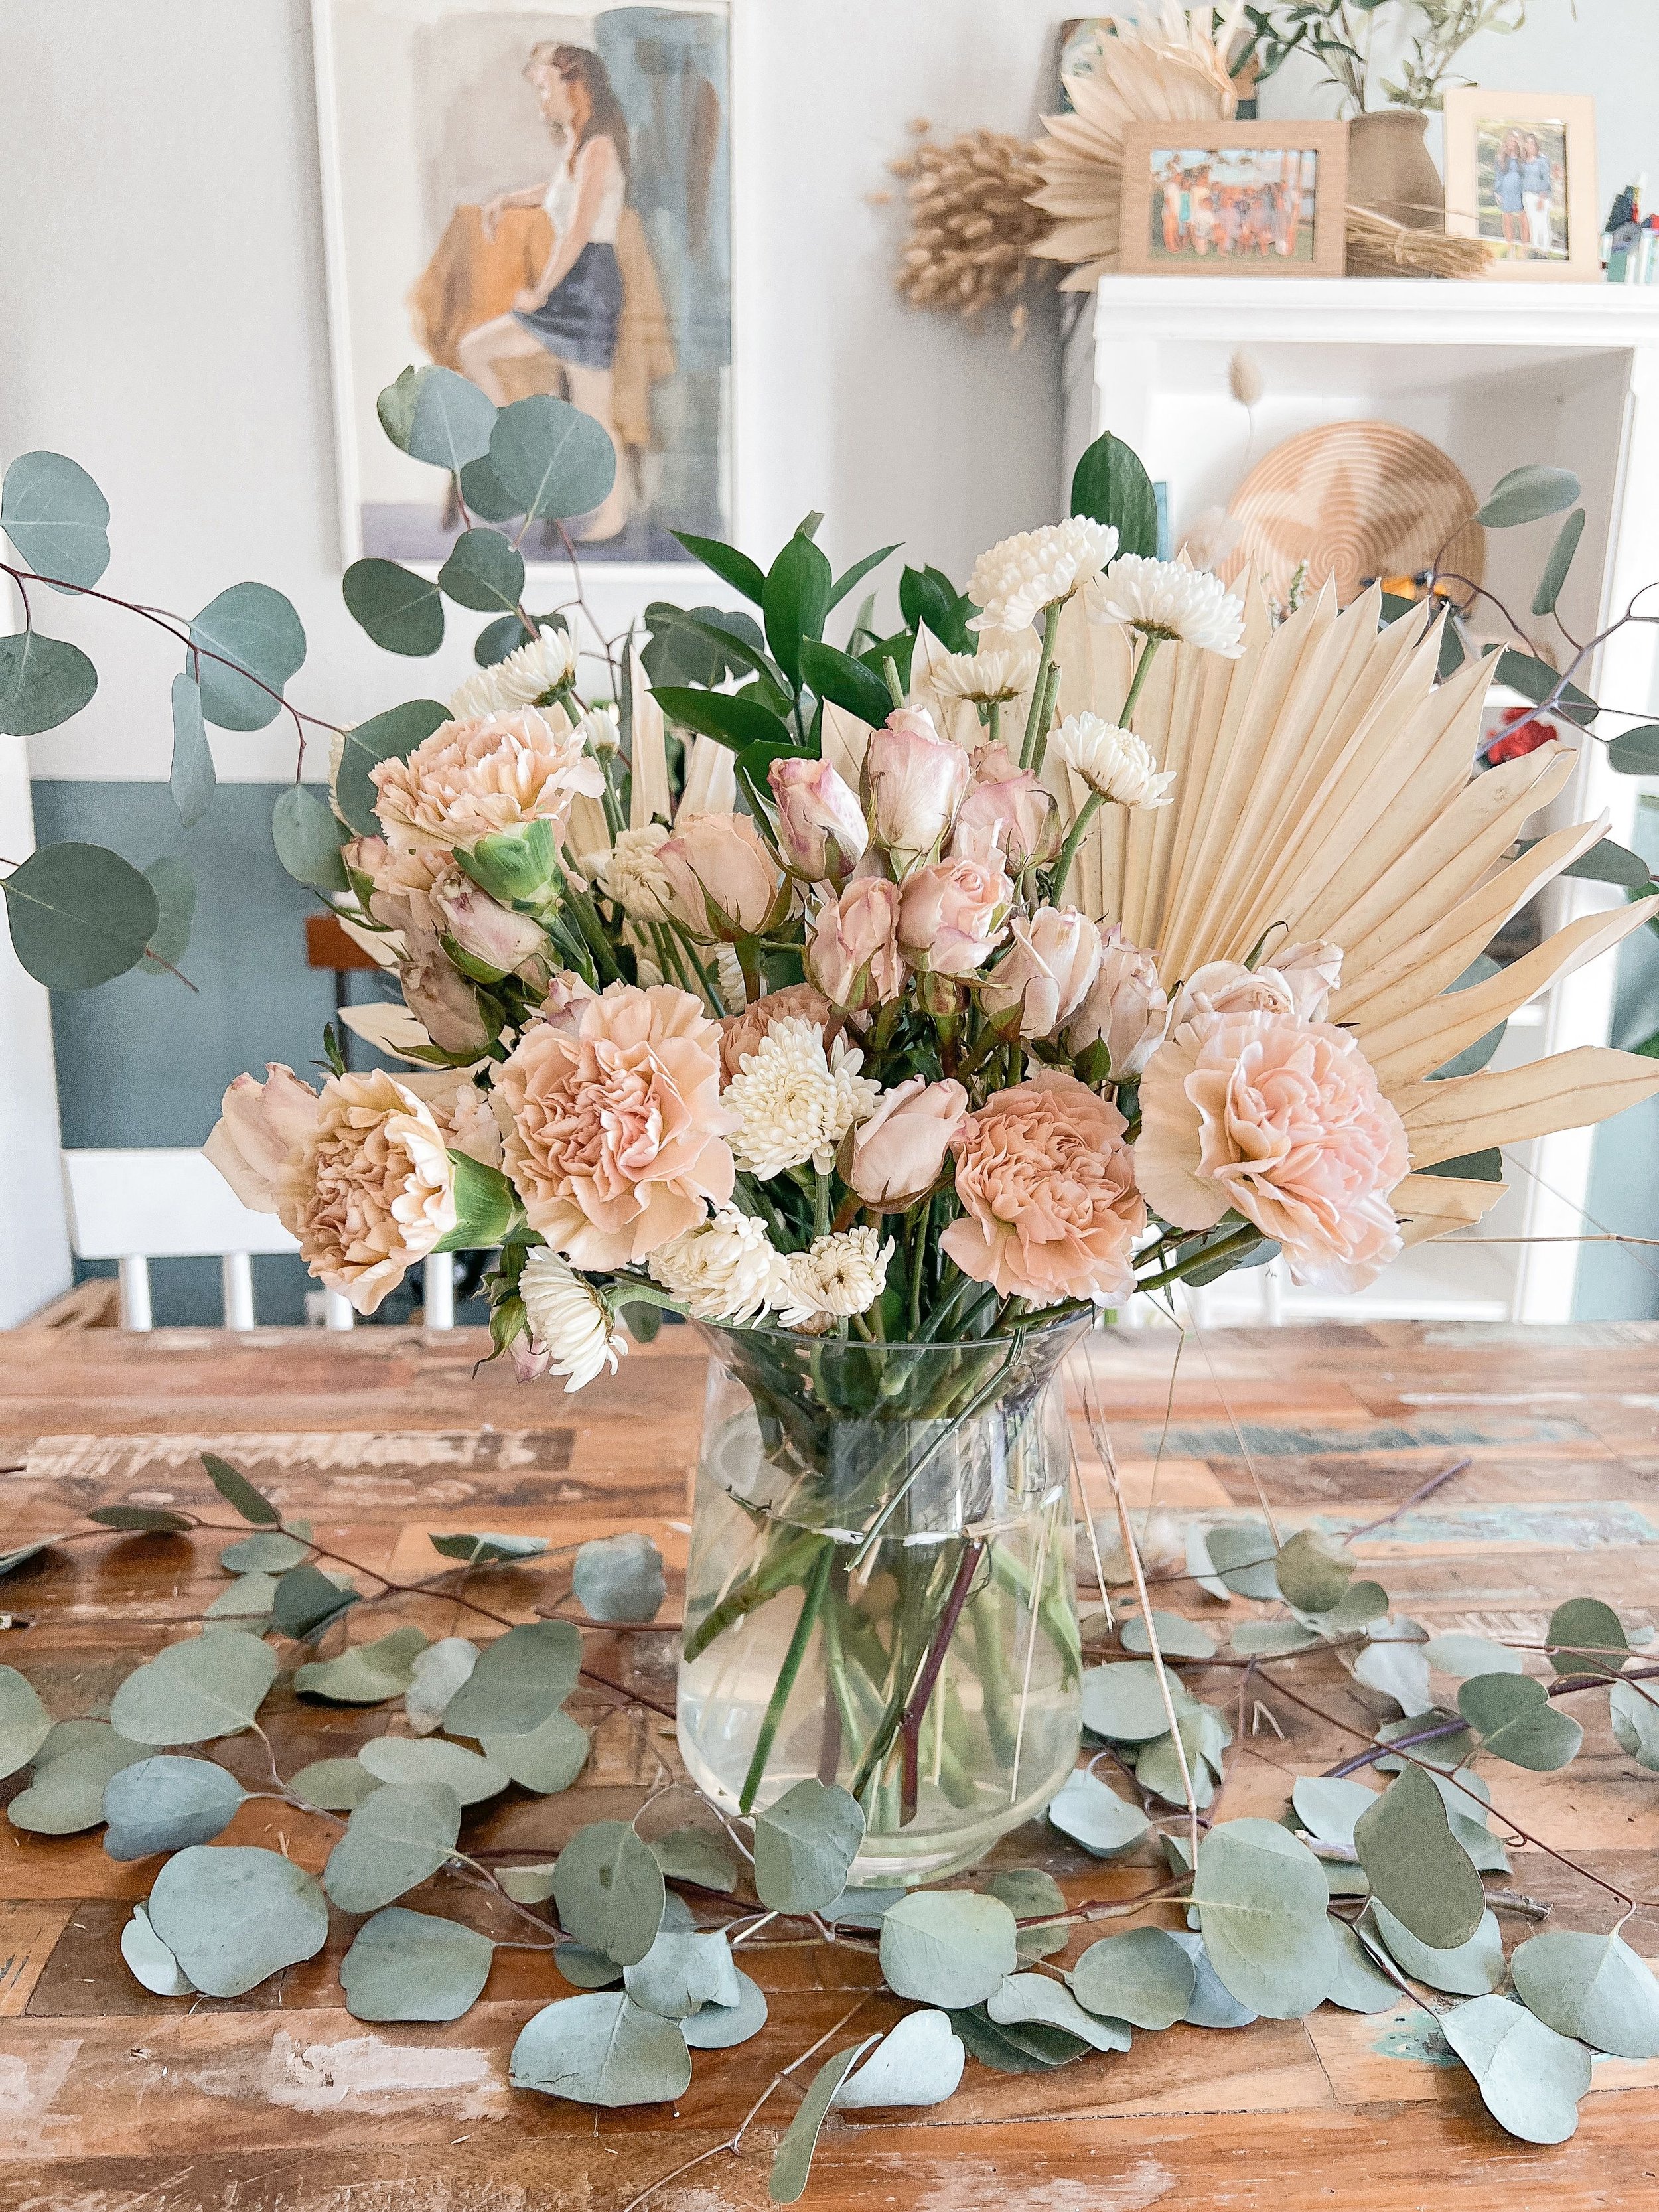
Finally, I added in the accent flowers. The pops of Preserved White Palm Suns and Bunny Tales, poked out here and there, and draped over the vessel edges to create a sense of movement within the arrangement.
Arranging the Table
Now that the floral arrangement was created, I needed to style the table around it. This first floral arrangement was my focal point, and would be placed in the center of the table. To create the rest of the tablescape I did the following:
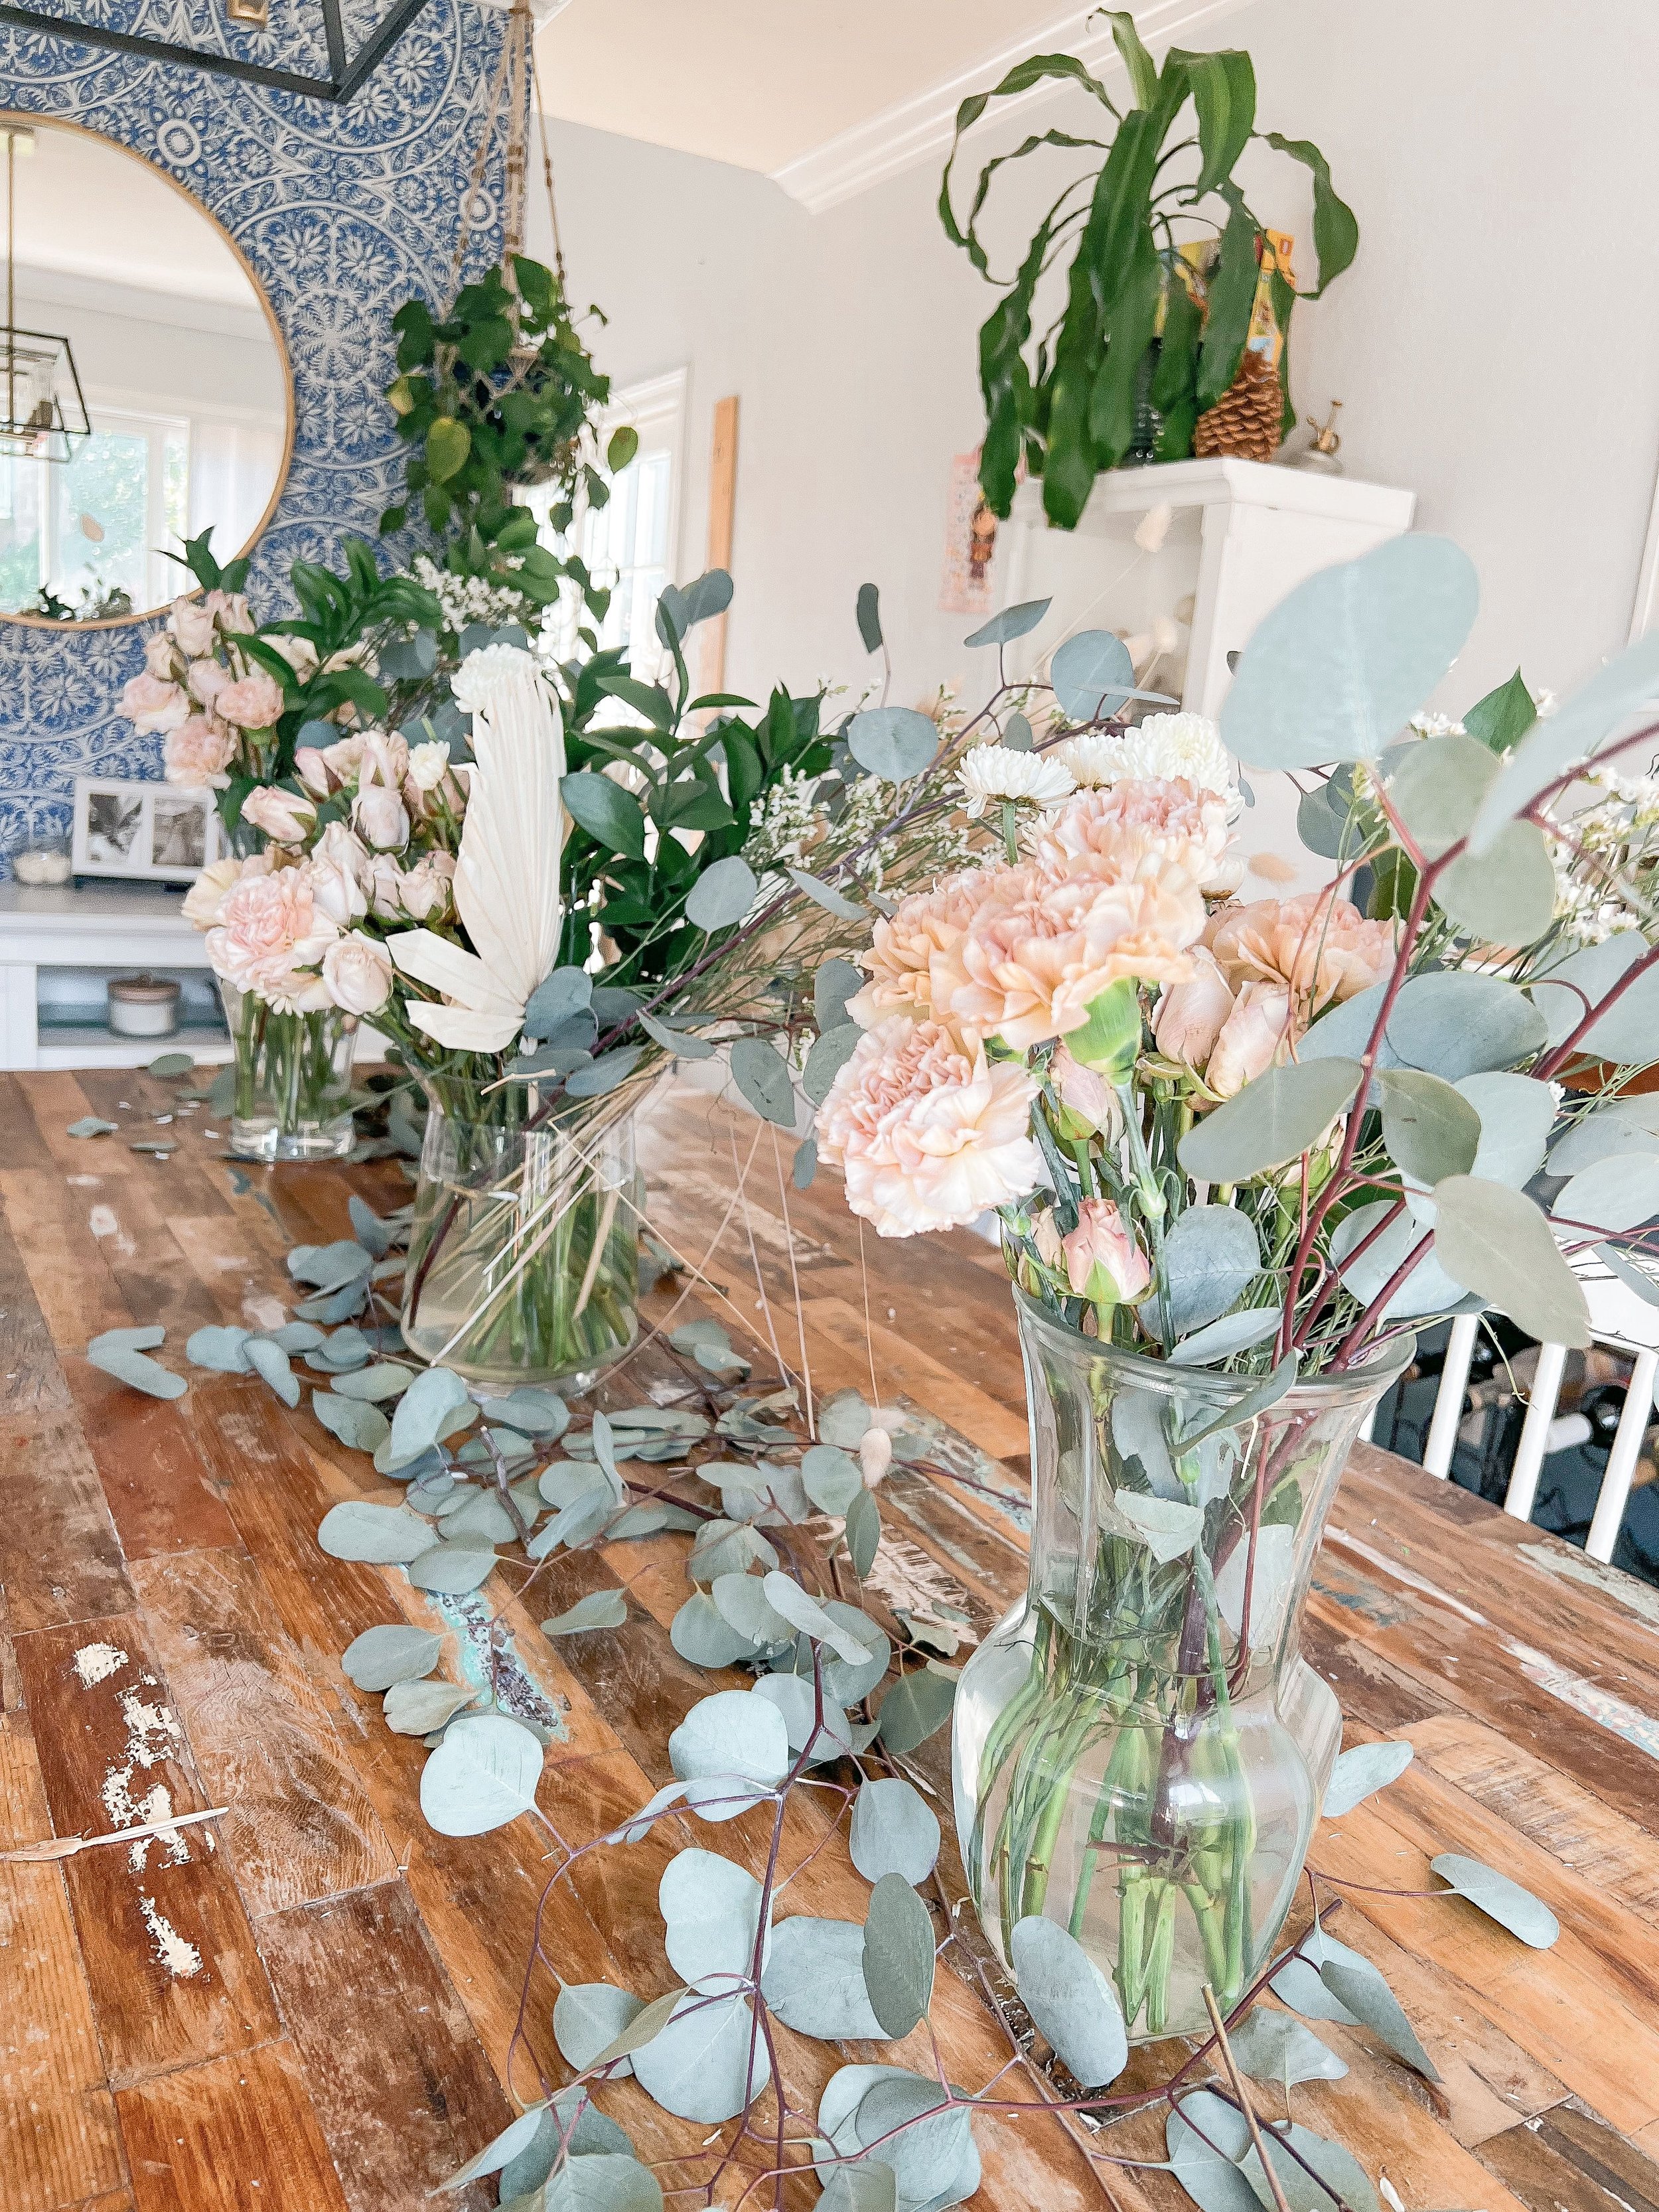


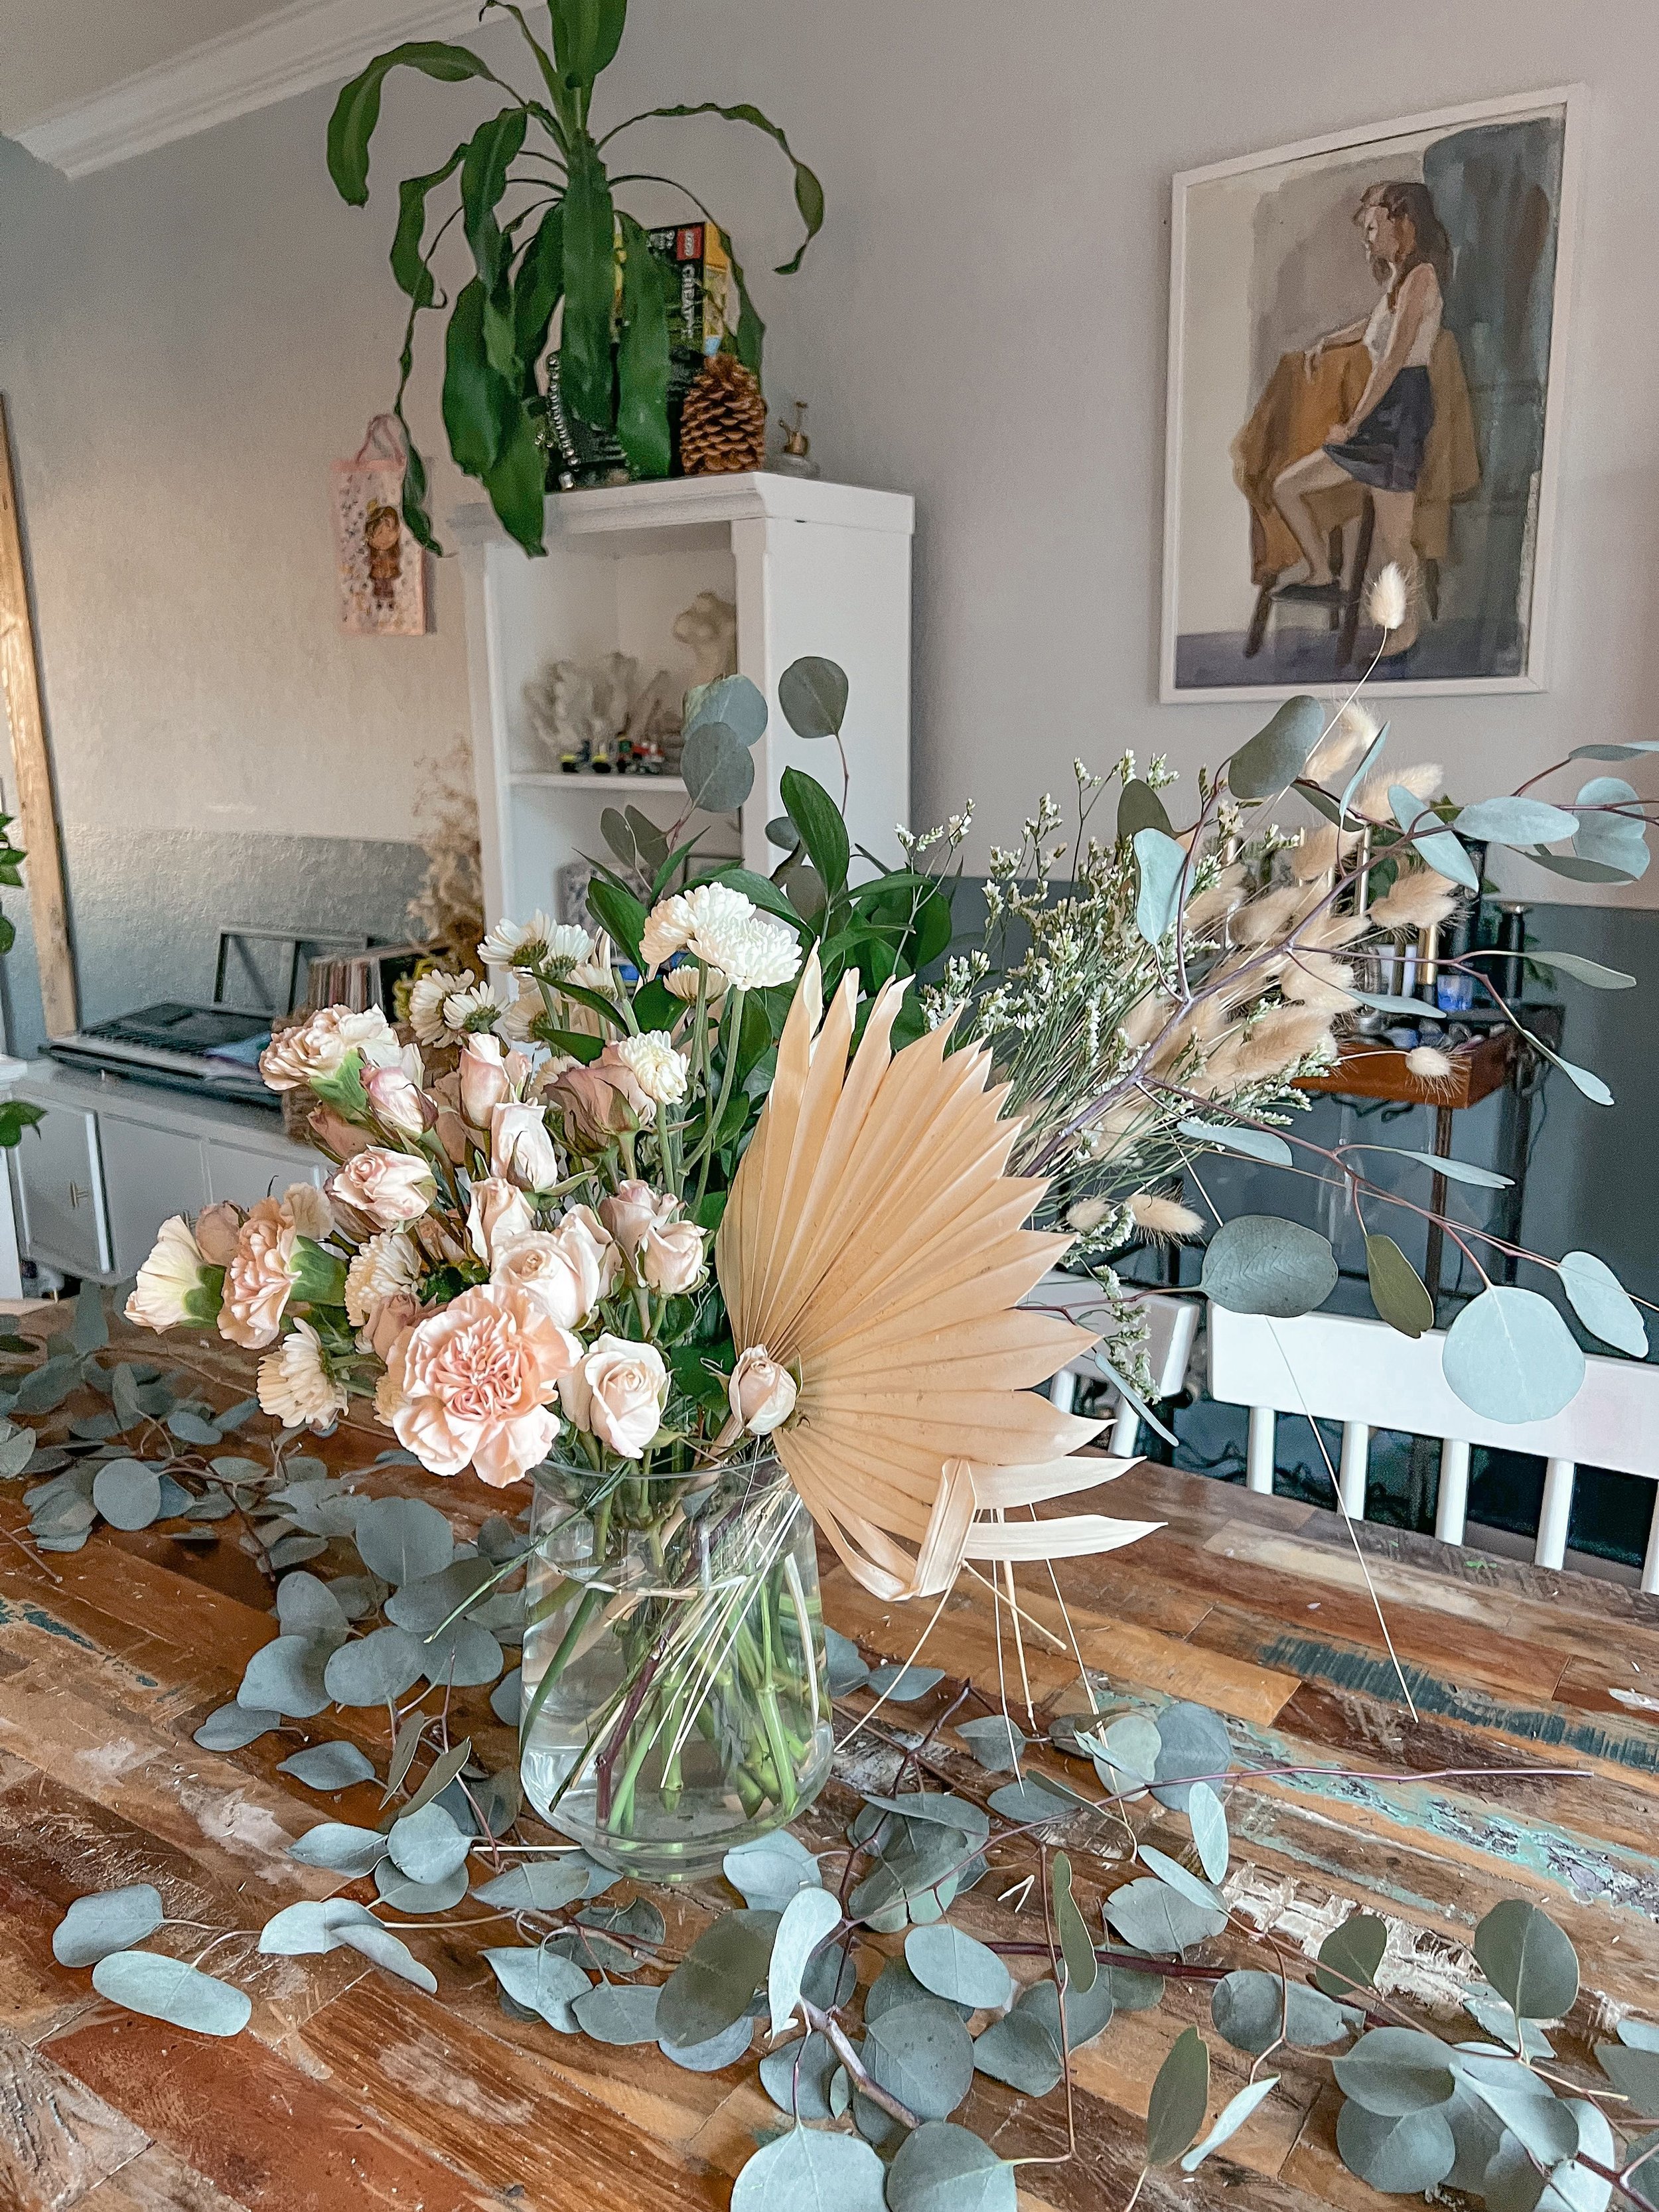


I arranged two other smaller floral arrangements, with the same variety of flowers, and placed them on either side of the largest one. These ones didn’t include the accent flowers. This way, they wouldn’t draw attention away from the focal arrangement in the middle. Additionally, I made smaller arrangements in general.
I wanted to vases to have the same color (clear glass vases), but not the exact same type. I don’t like when things are too matchy matchy, but some people love this and if that is what you love, you do you :)
Next, I added Eucalyptus Silver Dollar Green and draped it down the center. I wanted to just focus on this one greenery down the center of the table. This way it added texture, but didn’t take attention away from the arrangements. I also added eucalyptus to the arrangements so that it tied the whole table together. Side note: it purifies the air to keep it fresh, and also works as a natural decongestant, beauty and function, it’s a win-win!
Re-arrange If Needed
Finally, sit back and admire your tablescape. It is alright to change things around, and adjust things here or there. I never get it right on my first try, and end up moving things around. Flowers are one of my favorite ways to decorate for any occasion and with these easy steps, I hope you try it out too. I plan on drying these out to create a dry bouquet to keep forever because I love them so much. Stay tuned for part 2 of this blog post on how that turns out.
Cheers!
Janelle